Create a Customised Poster in Photoshop for Your Office
Keiran Pope
4 minute read
Whether it’s promotional or corporate, this easy to follow tutorial means you’ll be a pro at creating beautiful and personalised posters for your office and staff.
First of all, if you already have Photoshop then that tells me you already know some of the basics if not more.
For those that don’t, sign up with Adobe on the website here – monthly plans start from £8.57.
You can also sign up for a free trial too.
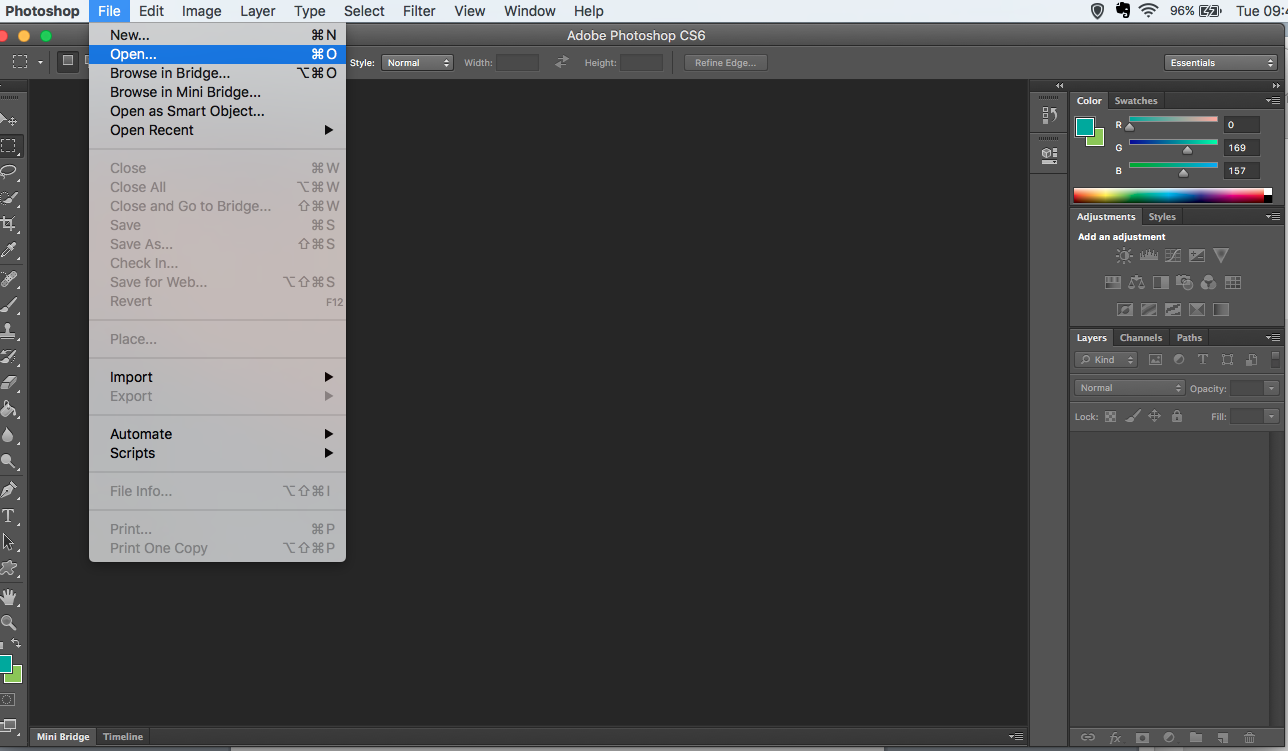
Open up Photoshop
When opened, select File > New. A task box will appear asking for dimensions and intent.
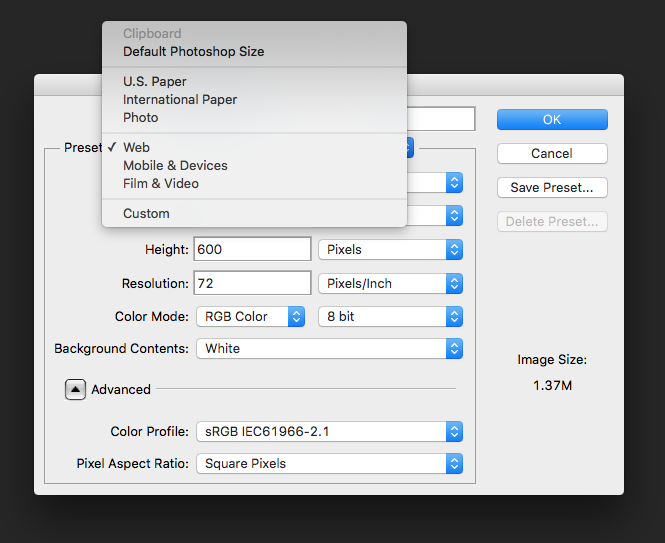
Size is up to you. If you’re just looking for a simple A4 doc, this will be automatically changed for you when you click international paper, but you can also customize from the menu.
Choose Your Colours Wisely
The maximum amount of colours you want is no more than 3. This is to make sure the poster is representing a brand and not cluttered with colour.
Think about what you want to convey through your poster. Professionalism? Try blues and blacks – though by all means be more creative and try using pastel colours.
Colour is very important when creating a poster. For example, brown can connotes misery or boredom, whereas red can mean love, blood, fire or agression – so choose your colours wisely.
When you have chosen your desired colour for the background, you have 2 options.
Navigate to the layers palette and duplicate the background layer by dragging it to the page symbol located at the bottom of the panel.
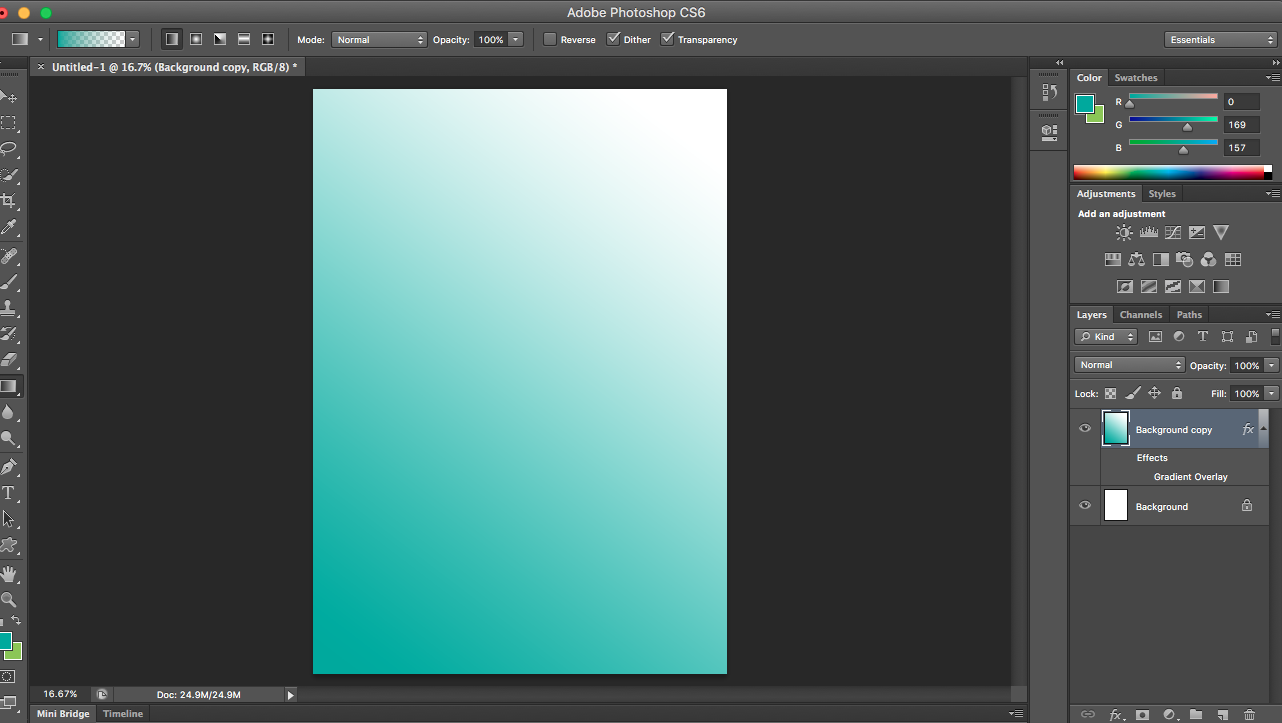
 You can either fill the whole page with a block colour, or, by double clicking on the duplicated layer, you can play with gradients.
Gradients can either be straight, radial, angled, or other variation. Let’s start with the default setting however – straight.
The layer style box will appear when the layer is double-clicked. With this, notice the options running down the left hand side of the box. Click gradient overlay and check the box is ticked.
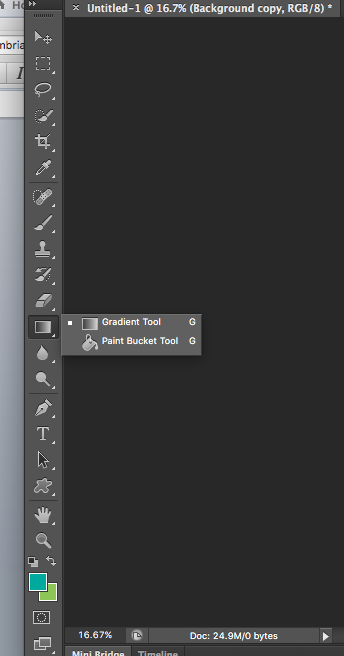
Another way of doing this is on the tools palette. Locate the gradient tool by long pressing the fill bucket symbol. This will reveal the hidden layers.
 From the swatches panel on the right hand side of the window, choose the colours you want, being aware of your background and foreground colours on the colour picker located at the bottom of the tools panel. You can also switch these around to change each colour by clicking on the little arrows.
Once you’re happy with your colours simply drag the mouse along the paper. Experiment with this though as you will find there are many different styles depending on a short or long drag.

Another option requires you to locate the gradient menu at the top of the window on the menu bar.
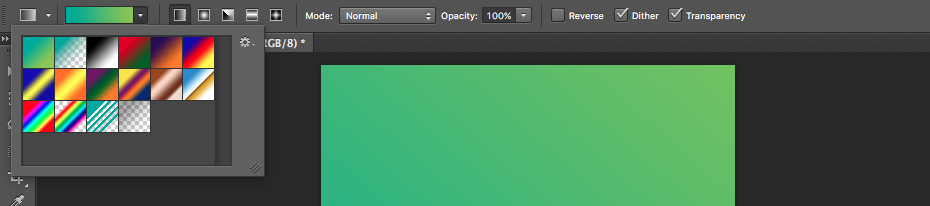
This allows you to have a solid colour to blank (notice the checkered appearance, this denotes blank or no colour), this will help your colour blend in.
Shapes
The shapes tool in Photoshop is an easy and efficient tool to help you create flawless shapes such as circles and rectangles. Long click on the rectangle on the tool bar and when the hidden shapes are shown click custom. Navigate to the top of the menu bar on the right hand side and click the small arrow next to the shape box.
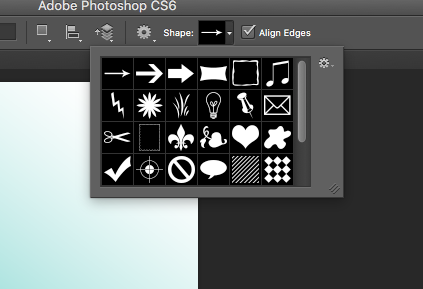
To show all available shapes click the cog symbol and select all, or choose from a category.

Once you have selected an image simply start to drag the shape onto the paper. If you want to constrain the proportions of the shape, simply hold down the ALT key.
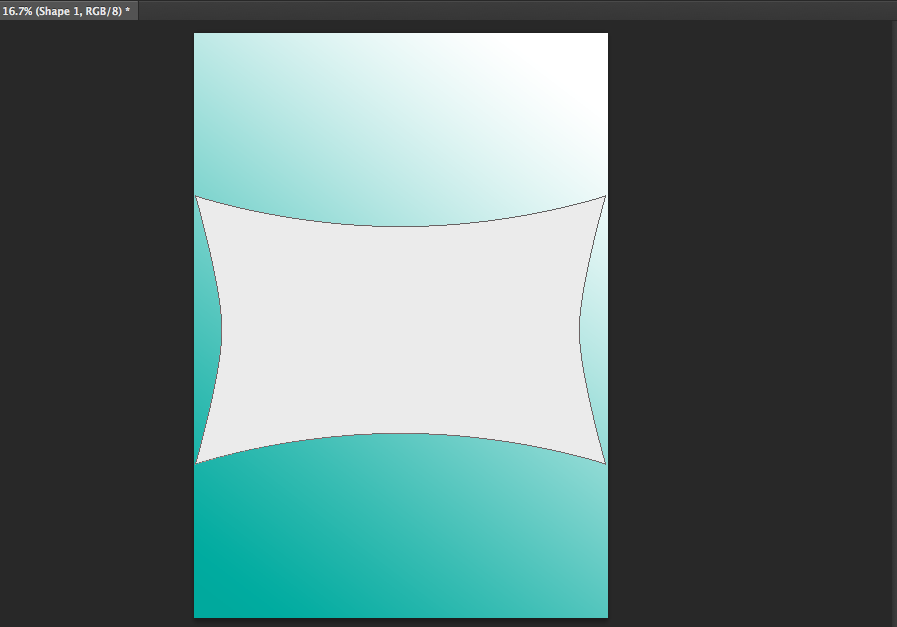
Fill the shape with the colour you want by clicking on the top panel of the menu bar with the fill and stroke options, similarly to the gradient tool.
Let’s Add Some Text
Locate the tools panel and select the T symbol. This tool allows you to either draw a text box or just start typing by clicking anywhere on the document.
Once you start typing this will create a separate layer automatically.
To colour your text, again, navigate to the menu bar and a box will be showing the selected colour. Click on this to open the colour picker box.
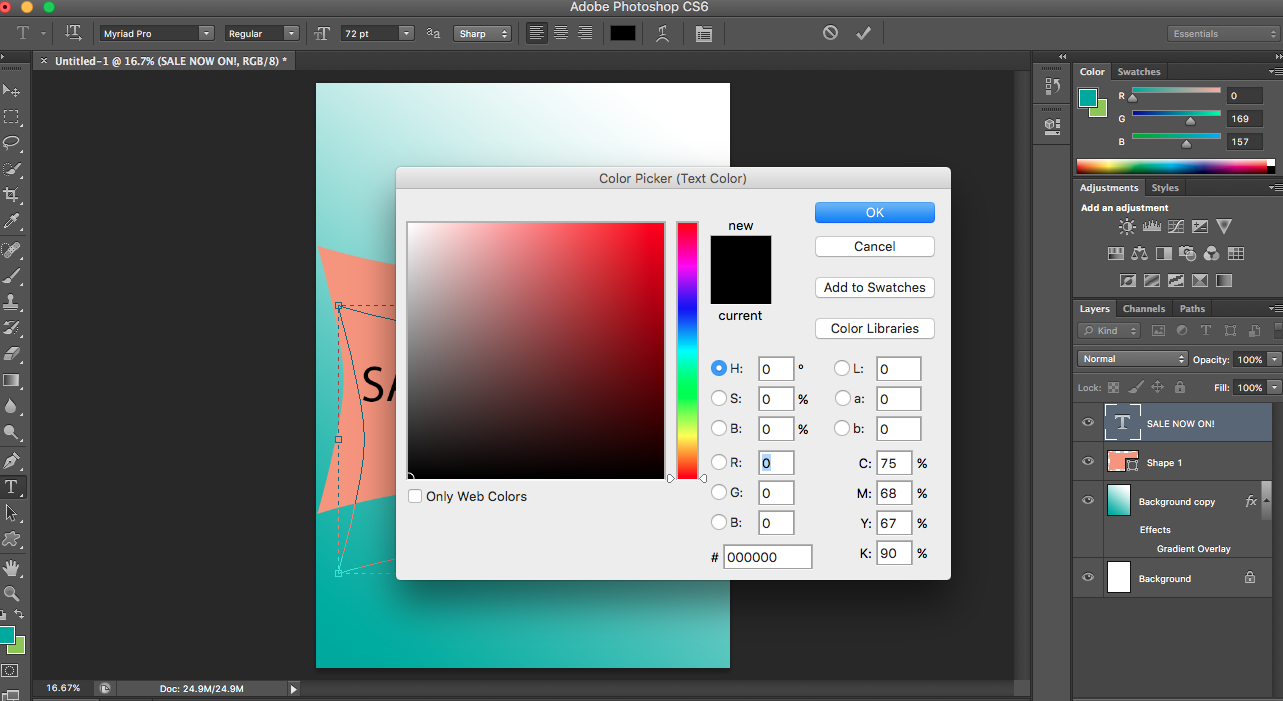
Once you have selected the desired colour, click on the Text Layer to reveal the layer style box. This shows you all the various options to do with your text. Some of these being beveling and embossing your text, shadowing and highlighting plus many more, be creative with these and use the sliders to get different results.
Adding Images and Logos
The finalizing of your poster requires adding pictures/logos to appeal to your viewer.
To do this select File > Open and choose from your computer, you can then grab the window of the image so it’s a separate floating window. Use the select tool at the top of the tools palette to move the photo onto your poster by dragging.
It will then show up with a bounding box, which is how you choose your sizing and rotation.
Another way of doing this is by simply just dragging the image over to Photoshop.
If the bounding box does not appear, simply press command T for mac users or Control T for windows users. This creates a box allowing you to change the size.
This will also create a new layer so when working on the image make sure to have the correct layer selected. This is indicated by a highlighted layer.
To control the opacity of text or shapes, simply click the appropriate layer, locate to the top of the layers panel where there is a slider name Opacity – click this and choose your desired transparency.

So there you have it. Keep experimenting and be creative. This article explains just a few simple tools and tricks but get out there and never stop learning.


